Mini-Z Gyro: Which to Buy and How to Set It Up
DasMikro or Kyosho MZW712 V2? Which Mini-Z gyro to buy and how to install it: direction setting, gain tuning, and eliminating snap oversteer on MR-03 and MR-04.
MR-03 · MR-04
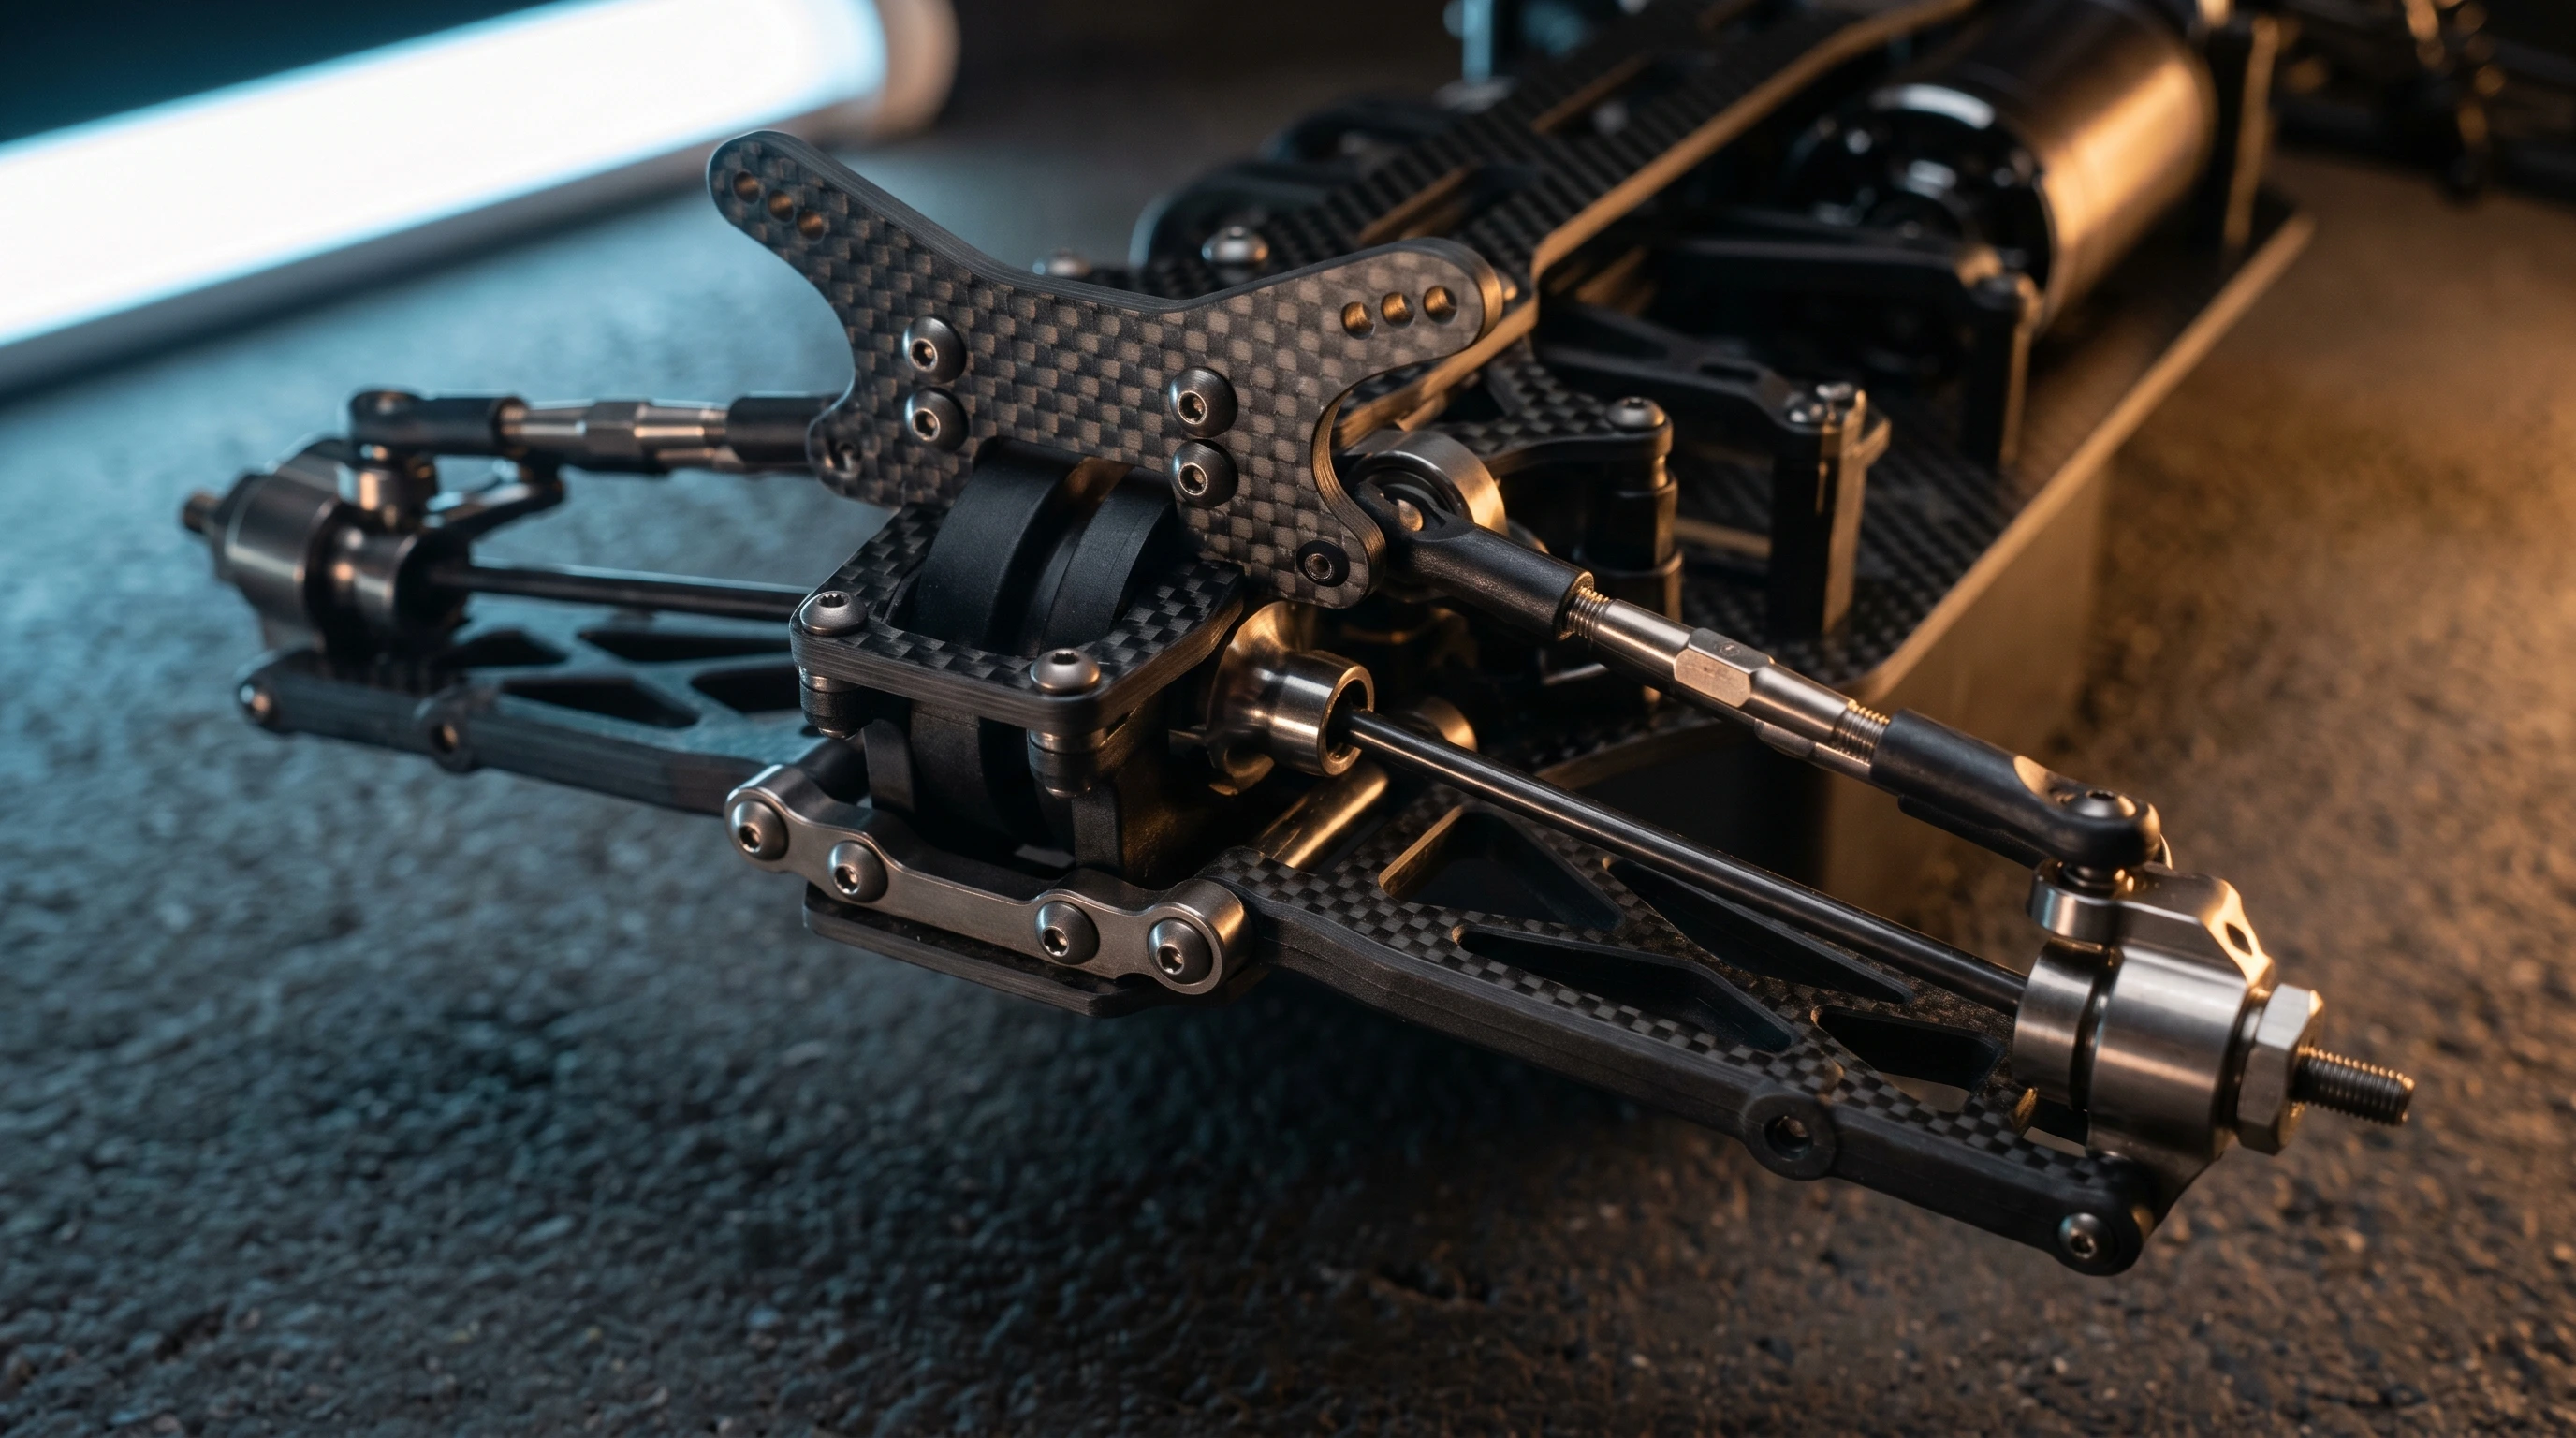
At 1/28 scale, rear-wheel-drive cars are fast and snappy. Sometimes too snappy. Snap oversteer happens in milliseconds, faster than any driver can react. A gyro corrects it automatically, counter-steering to stabilize the rear before you’ve registered the slide.
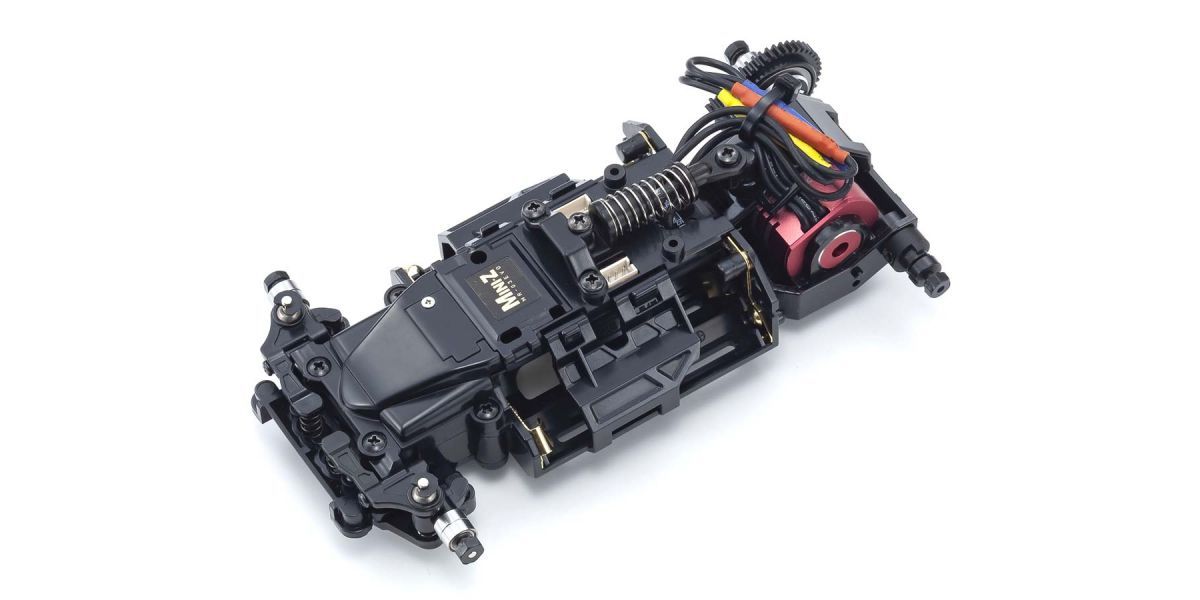
This guide covers installation and setup for the DasMikro Mini-Z gyro and the current Kyosho gyro. The DasMikro is the first recommendation for most builds: better availability, lower price, and a plug-and-play fit on the MR-03 and MR-04. If you prefer buying direct from Kyosho, the current OEM unit is the MZW712 Gyro Unit Set V2. The older MZW405 it replaced is discontinued, and its Amazon listing now redirects to the V2. The V2 is built for the EVO and EVO2 chassis line (MR-03 EVO, MR-04 EVO2), so it is the right OEM choice if that is what you run. Mounting steps below are written around the DasMikro on the MR-03 EVO board; the V2 mounts to the same area but ships with its own harness, so follow the sheet in the box for the connector.
What a Gyro Does
The gyro measures yaw rotation and applies counter-steer through the servo when the car starts to rotate faster than commanded. It doesn’t drive the car. It catches it when the rear steps out.
The amount of correction is controlled by gain. Too little gain and the gyro does nothing useful. Too much and the steering will oscillate or fight itself. Called “hunting.” The goal is the highest gain where the car still drives cleanly.
What You’ll Need
- DasMikro Mini-Z Gyro (current recommendation) (→ DasMikro Mini-Z Gyro on Amazon, or Kyosho OEM for EVO/EVO2 chassis: → Kyosho MZW712 Gyro Unit Set V2 on Amazon)
- 1.5mm hex driver
- Small Phillips screwdriver
Installation
Step 1: Remove the body and clear the chassis. Take off the body clips and body. The gyro mounts to the top of the main chassis board, typically above the front axle area.
Step 2: Mount the gyro. Peel the adhesive backing and press the gyro firmly to the mounting location. On the MR-03 EVO, the correct position is slightly forward of center on the chassis board. The gyro must sit flat. Do not mount over raised components or wiring.
Apply firm pressure for 30 seconds. The bond strengthens over the first hour of use.
Step 3: Connect the gyro lead. Plug the gyro connector into the designated port on the ESC/receiver board. On the MR-03 EVO board, this is labeled GY or GYRO. One connector, one direction. It won’t fit backwards.
Step 4: Verify direction setting. This is the step most people get wrong. The gyro has a direction switch (physical or software-based depending on model). If direction is reversed, the gyro will amplify slides instead of correcting them.
To check: with the car sitting still, push the rear of the car to the left. The front wheels should steer slightly left (counter-steer). If they turn right, reverse the direction setting.
Do this check every time you install or swap a gyro. It takes ten seconds and prevents a lot of confused laps.
Gain Tuning
Start with gain at 50% of the adjustment range. Drive several laps and observe:
Gain too low: The rear steps out unpredictably on corner exit. The gyro doesn’t seem to be doing much.
Gain too high: The steering oscillates or wiggles on straights. The car feels nervous even when going in a straight line.
Increase gain in small increments until you first notice hunting, then back off two steps. That’s your working range. Most MR-03 and MR-04 setups run well between 40-70% depending on surface grip.
Surface and Setup Interactions
- Higher gain works better on lower-grip surfaces. The gyro needs to work harder when tires have less natural bite.
- On high-grip RCP, lower gain is often cleaner. The tires provide natural stability and you want the gyro to assist, not dominate. If you are setting up a home RCP track to tune on, the RCP Track Setup Guide covers tile counts, layout design, and surface prep so your gain adjustments are based on a consistent surface.
- Drift setups run gain low, not off. If you are tuning for slide angle rather than grip, the target range is well below a race setup. The Mini-Z Drift Setup guide covers the drift gain range and how it interacts with tire and spring choice.
- Re-tune after tire compound changes. Different compounds change the grip baseline, which changes your optimal gain. The Mini-Z Tire Guide covers how to match compound to surface.
Common Mistakes
Mounting over a bump or wire. The gyro must sit flat. Any flex in the mounting surface causes false readings and erratic behavior.
Wrong direction. Test the direction on every gyro install. It’s fast and the consequence of skipping it is the car actively fighting you.
Blaming the gyro for a power problem. If the steering twitches on its own or the car cuts out for a fraction of a second and then drives perfectly again, that is not gain and it is not the gyro. It is almost always a brownout from a tired pack or dirty tray contacts. The Glitching and Signal Loss guide works through it cheapest cause first, and the first five steps are free.
Blaming the gyro for setup problems. If the car still snaps out despite maximum gain, the root cause is likely tire compound, T-plate stiffness, or rear weight distribution. Not the gyro. A gyro can help manage oversteer; it can’t fix a fundamentally unbalanced setup.
Where the Gyro Fits in the Build
The gyro is upgrade #5 in the First 5 Upgrades sequence. Browse gyros, ESCs, and servos together on the Shop Electronics page. Do bearings, tires, and T-plate first. For the full ordered upgrade path including gyro placement in context, see the Mini-Z Upgrades guide. Once your gyro gain is dialed in, it interacts directly with ESC tuning (especially punch control) and your radio: cutting steering dual rate or EPA aggressively also cuts the authority the gyro has to catch a slide, so if gain suddenly feels weak after a radio session, check the Transmitter Settings guide before you touch gain again. If you’re setting the car up differently for racing versus casual driving, the Racing vs Bashing Setup guide covers how gyro gain strategy shifts between the two. When you start logging setup notes at the track, the How to Read a Setup Sheet guide explains how gyro gain fits into the full setup picture alongside springs, T-plate, and diff preload.
Product images courtesy of Kyosho.
Prices are approximate and change often. Check the listing for current pricing.
OEM drop-in gyro for the EVO and EVO2 chassis line (MR-03 EVO, MR-04 EVO2). Corrects snap oversteer on RWD platforms. Essentially mandatory above casual use. Supersedes the discontinued MZW405.
Shop →Direct replacement for the Kyosho OEM gyro (MZW405/MZW712). Works with MHS, ASF, and EVO receiver boards. Adjustable gain.
Shop →Purpose-built 1/24 & 1/28 scale ESC. Supports PN Racing, GL Racing, and Rocket-RC Mini-Z sensored motors. Programmable via LCD display. Correct size and voltage range for Mini-Z.
Shop →Low-resistance MOSFET replacement set for Mini-Z stock boards. Drops drivetrain heat and lets brushed motors pull more current without sag. Requires soldering.
Shop →